Wednesday 29 April 2015

April Favourites :)


Hello again :) FINALLY I am back, many apologies for my lack of blogging as of lately I literally haven't had a second to stop and think!!! I can't believe we're almost into May already!!!! Seriously this year is just flying by!!!  I hope you are all keeping well and enjoyed the last of the sun for a while!! Hopefully we wont have to wait to long for it to appear again soon!! :)

So today I am sharing with you what beauty products I have thoroughly enjoyed using over the past month. Hope you enjoy :)


So first up we have the Boots Botanics Radiance balm All Bright. I got this in Boots months ago and it's still going strong, I got it for only €3.99 and I'm nearly sure it's still at this price now. If not the most you would pay is only €7.99 and it is probably one of the best beauty products you could have in your make up bag right now!! It gives your skin a natural glow and is great for wearing with no make-up or just under your make-up. It's an exact dupe for the MAC strobe cream so definitely one I will continue to buy in the future :) This can be bought here .


L-R: Snapshot, Au Naturel, Bad girl and Oh so Special

Next up I have the Sleek eyeshadow palettes. These palettes have become my new all time favourite eyeshadows!!!They're only €9.99 and the pigmentation in them are unbelievably good!! There are so many different ones you can get but I currently only have 4 of them, I am slowly but surely building my collection and I hope to have the whole collection soon :) The ones I have are Snapshot which is a very fun eccentric palette, full of bright colours like orange, purple, pink green, etc., this is the one I think brings out your creative side because it is so funky and exciting. Next is Au Naturel, this is the perfect nude palette and great for day or night time wear. Bad girl is a little more daring and full of blues, silvers and dark colours, it's a very fun palette to play with too and you can create some amazing night time looks with this one. And last but not least is the Oh so Special palette, this was the first one I ever bought and I loved it from day one :P it is another one perfect for day or night time, I love them all!! These can be purchased from Ryan's Pharmacy in Edenderry or any Boots which has the Sleek stand :) 


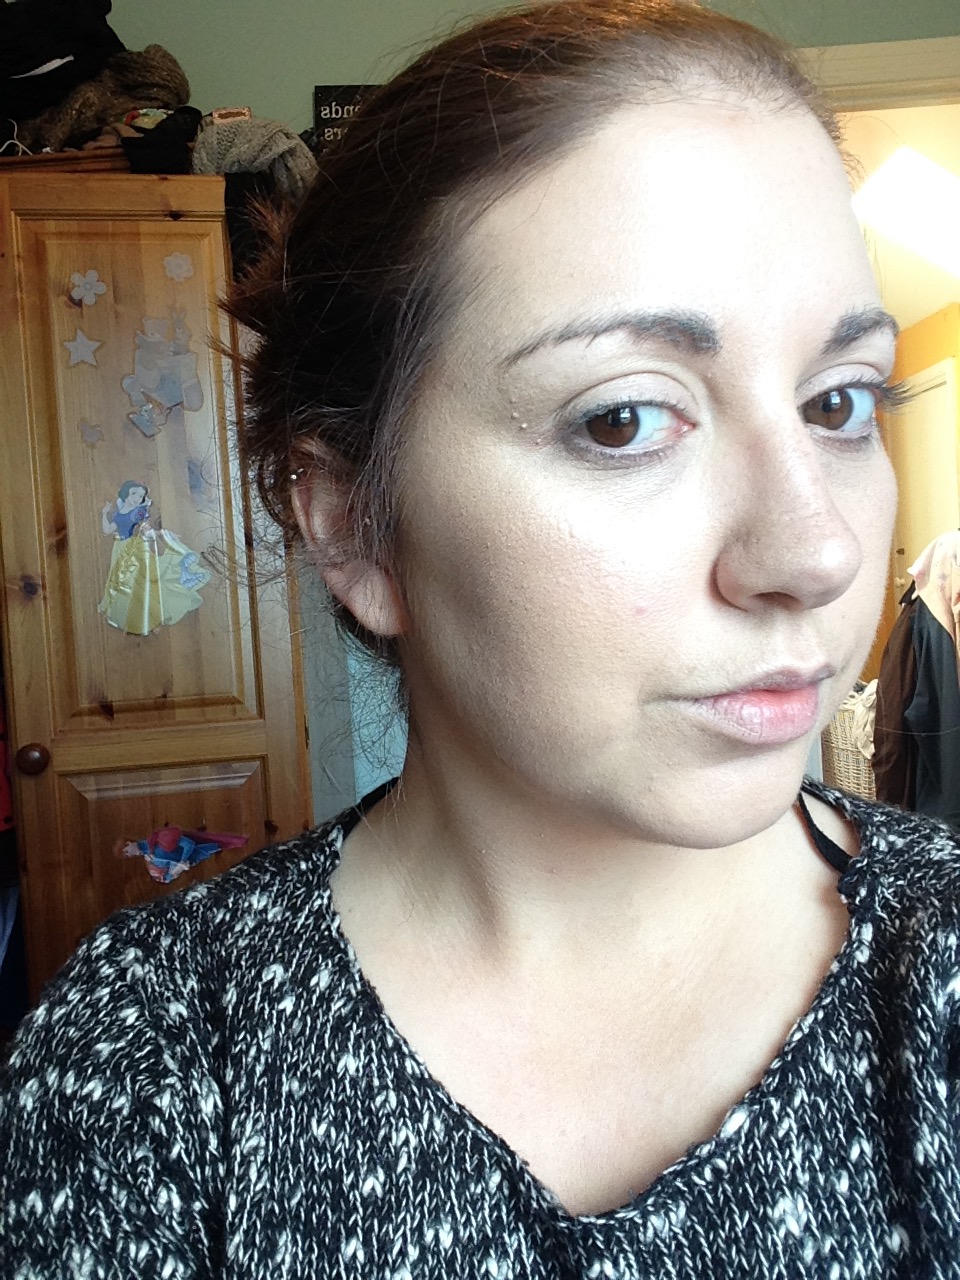
So this next one is a new one I have come across since starting Forever Living, some of these products are just unreal!! So this one is from the Sonya range and it is the Aloe Nourishing Serum, I decided to treat myself when I reached Assistant supervisor within the company :) It is the softest moisturiser/serum I have ever come across. It's so light and a tiny bit goes along way. I use this everyday as a moisturiser and it also works as a primer too! It smells divine too :) Its €44 but it is worth every cent as it lasts ages!! 


And Last but not least this next product I have been finding absolutely amazing is also from Forever Living and is called the Sonya Aloe eye make up remover!! This is like no other!! It's only €11 and you only need the tiniest bit of product on a cotton pad and it removes all eye make-up without irritating the eye! I absolutely love it !! I now use this every night as part of my make-up removal routine :) 

So there we have it, my April faves :) what are your beauty products of the month? I love hearing about different products and what my followers love so please share too :) I hope you all enjoyed reading and if you have any questions or queries about the products above feel free to ask :) 

Thank you all for reading :) 

Until next time
Lots of love 

Wednesday 15 April 2015

Forever Living C9... My 9 days :)


Hello all you lovely people:) I hope you're all having a wonderful Wednesday!! I can't believe how fast this year is going by, nearly in to May already!!! Which is why I went in to panic/meltdown mode and decided I had to get my ass in gear for the Summer and all the events I have to look forward to I want to look and feel my best!!! So that is when I decided to take on the C9 and really give myself a challenge!! 


What is the C9?


The C9 is designed to give you a kick start in the right direction to a healthy better you. It cleanses the body making it easier for you to "start over" again!  It provides the perfect starting point for transforming your diet and fitness habits. The C9 is based around the extremely popular Aloe Vera drink. Doing this program and following it step by step will allow you to see real results in just nine days!! 


Pack contains:

2 x 1 litre bottle Forever Aloe Vera Gel
1 x Forever Lite Ultra with Aminotein Vanilla (15 servings)
1 x Forever Therm (18 tablets)
1 x Forever Garcinia Plus (54 softgels)
1 x Forever Fibre (9 packets)
1 x Shaker
1 x Tape Measure
Information booklet


Day 1 and 2 


So I decided to do the C9 just after Easter Sunday, alot of people were saying I was mad as I was going to be surrounded by Easter eggs, etc., but being honest this was the best time I could have started I was so sick of eating junk and feeling crap so I took it upon myself to change that. I had heard lots of different things about the C9 (mostly good) so I couldn't wait to give it  a try myself and to also challenge myself and see what lengths I can really go to to get what I want and  need !!! 

So on day one and  two you have one shake a day and 480ml of the aloe vera gel, the Aloe gel is absolutely fine to take I didn't know what to expect but it was tasteless and I just knocked it back :) there is also a list of free foods you can have now which include wide range of fruit and veg. So there is no excuse to let yourself be hungry :) This is so simple and once you get past the first 2 days you are flying it !! I would recommend the shake in vanilla flavour it is absolutely delicious and I  actually look forward to having it :) 

Breakfast

2X Forever Garcinia softgels
120ml Forever Aloe Gel
1x Therm tablet
30 minute min of low-intensity exercise (brisk walk, cycling, swimming, etc. 

Snack 

1x packet Forever Fibre 

Lunch

2X garcinia softgels
120ml Forever Aloe vera gel
1X Forever Therm tablet
1Xscoop Forever Lite Ultra (shake)

Dinner

2X Forever Garcinia softgels
120 ml Forever Aloe Gel

Evening

120 ml Forever Aloe Gel
250 ml water 


Day 3 -8


By the time you get to day 3 you are flying with all this energy you don't know what to be doing next. And happy days you get to have a 600 calorie meal today, I never looked forward to my dinner so much :) I had  cod fillet with stir fry veg and it was so yummy!!!  I now do 30 minute exercise everyday whether its a brisk walk or cardio workouts I found on you-tube and some light weights. I feel bad if I miss a work out and ensure I make up for it. you can spread your 600 calories throughout the day if you wish to do so too. So what I done was, I had a boiled egg along with the shake in the morning for breakfast and then made up the rest at dinner time! So I am training my body to not eat as much as I had been doing as my body really didn't need all that food. I am also training my body to eat healthier and reach for healthy snacks like fruit etc rather than a chocolate bar. You weigh and measure yourself on day 1, 3 , 6 and 9. It's the best feeling getting up on the scales and watching those numbers go down and down :) 

Breakfast

2x Forever Garcinia softgels
120ml Forever Aloe Vera gel 
1x Forever therm tablet
1x scoop forever Lite Ultra
30 minute min of moderate-intensity exercise 

Snack

1x Packet Forever Fibre

Lunch

2x Forever Garcinia plus softgels
1x forever therm tablet
1x scoop Forever Lite Ultra

Dinner

2x Forever garcinia softgels
600 - calorie meal 

Evening

250 ml water 


Love this!!! Vanialla Forever Lite ultra shake 

Cod fillet and stir-fry veg

Chicken and veg stir-fry

the smaller one on the left was mine :)

Day 9


So its the last day of my C9 and I am just buzzing from it. I have so much energy, I feel healthy, I don;t feel sluggish or tired and most of all I'm 8lbs lighter than I was 9 days ago!!!! Absolutely thrilled with my results!!! I would highly recommend this detox program to anyone hoping to get in shape and get a  kick-start to a new healthy you!! And remember this is just a kick-start, what you do after this is completely up to you. You need to ensure that you maintain your healthy diet and exercise. When you have worked so hard for the nine days the last thing you want to do is ruin it so you keep on going with it. Continue taking 60ml of gel a day and get some lean supplements and therm tablets. These will help maintain and lose any extra weight you have. You can also continue to take the shakes too as they are light on calories but contain all the nutrients you need :) 


My Results


Day one left and Day 3 right. down 5lbs

Day one top, day 9 bottom 8lbs and 7.5inches gone :) 


I can feel such a huge difference not only physically but mentally. That dark cloud has disappeared and I am in a very positive mindset, which I never thought I would hear myself say again! I have tons of energy, like last night for example I was in my house and it was about 10pm so I said to Anthony lets go for a walk.. it was pitch dark out and he looked at me like I was mad but off we went (mam and dad minded Lucy) and I ran for he first while and power walked the rest !! I honestly cannot tell you the last time I would have ever considered doing that!!! So it helps you not just physically but mentally!! 

If you are interested in doing the C9 or need any more information  you can order today by contacting me through my Facebook page here  :) You will not regret it. 

Hope you all enjoyed this post and remember if you have any questions please do not hesitate to ask in the comments below or on any of my social media pages listed just under my name :) 

Thank you all for reading

Until next time
x lots of love x

Sunday 12 April 2015

My makeup routine :)


Hello again :D 
So I finally got around to doing this blog post, which I know I said I would do ages ago but life got in the way!! But here it is yay!! So this is how I do my make up most days., this kind of make up is for the likes of meeting a friend for a coffee, going shopping, basically I wouldn't look like this just sitting around the house all day :P  I don't normally do winged liner on a daily basis as I am still terrible at it but I put it in this post anyway to show you when I do it how I do it :) So hope you all enjoy, and remember this is just a guide as to how I do mine, everyone does their make up differently and that's allowed :) Hope you find some useful tips :)

Wash, cleanse, tone and moisturise


In order to create a nice make up look you need a nice clean blank canvas to work with. So it is very important that you cleanse thoroughly before hand.  So what I do is while I'm in the shower I wash my face with a nice face wash at the moment I am using the Aloe face and hand soap as it is an all over body soap too so its very handy. I then use a toner, I'm using No7 soft and soothed gentle toner which is just lovely on the skin and then a good moisturiser. I have very dry skin so I am using /Aloe moisturising lotion at the moment its very soothing to dry patches and hydrates more or less straight away. So that's the basics for step one :) 


Prime and Conceal


For a good base for your make up and to make it last all day you need a good primer to suit your skin type. I have used so many over the years and finally found 2 great ones which really wok for me, one is No7 Airbrush away primer and the other is the Smash box photo finish primer. Due to the fact that I have such dry skin I need the primer to be some what hydrating for my skin and I just find these two in particular work for me. 

How to apply?

So for the primer I just put a small bit on the back of my hand and using my finger tips I just lightly rub it in to my face. I let it set for about 5 minutes before concealing :) I then use my Boots Botanics All bright radiance balm, I just find this great for giving your skin that glowing look and I also use this when I'm not wearing make up just to give it a nice glow  and radiant look :)  great little product to have and its only €3.99 from Boots


Concealer 


So I like to conceal my face prior to putting on my make up, again everyone has their own way of doing this I just like to get rid of any blemishes and redness before I put my foundation on. The best one I find is the Wet n Wild cover all concealer. It has the green for redness, pink for dark circles, white for highlight and skin colour for blemishes and the best part is it's only like €4.99. I get redness on my cheeks, my eye lids and sides of my nose and I also use the green to cover any spots which may be red too, the green neutralises the redness and after just using a small bit you can clearly see the redness disappears. So you know all us mammy's dark circles are the story of our lives so this pink part is a life saver!!!! so starting from the inner corner of my eye using my ring finger I bring it down to the tops of my cheekbones and making a triangular shape I bring back up to my temples. and obviously dab in along under the eye. The reason I bring I down so far and across is so when light reflects it doesn't look like I have a blob of pink just under my eye :P Using my Real techniques Stippling brush I blend it all in. See pics below :)  You can purchase this stippling brush here.


Foundation


I have so many different foundations at the moment but I have to say the Clarins everlasting foundation is just so nice on my skin, you only need a tiny bit for full coverage and it just stays in place all day. It's a great day and night time make up which is handy:) So I take a small bit on the back of my hand and dip my Beter Foundation brush in to it and using circular motions I blend it all over my face and down to my neck so I avoid any make up lines. 


Contour and Highlighing


I think when it comes to contour and highlighting people can tend to over think it and see it as a bigger deal than it is. When you get the hang of it you will be able to do it with your eyes closed :) With this type of day make up I just use powder contour and highlight as I find the cream one to be very night time more dramatic look. So I am currently using and loving my Sleek Face Form palette.  It's so easy to use and creates natural contour and highlight too. It's only €12.99 and you can purchase it here :) 
To contour, using my real techniques foundation brush (this brush is so slim and perfect for getting a perfect line on the contour of the cheeks) I get a small bit of powder and from my ear to just the corner of my eye or so i just sweep the bronzer along that line just under my cheek bone. The best way to find the hollows of your cheek bones is to make a fish face and roll your makeup brush just under the cheek bone. I then bring it up to my temples and my hair line and just along my jaw bone and down the sides of my nose. using my Real techniques bold metals contour brush (purchase here ) I blend it in with light circurlar motions always going up, the same with then temples and the hairline (forehead). Then along the jaw bone I blend it downwards. 


To highlight, Using the highlight powder form the Sleek face form palette, using my Real Techniques contour brush (funny enough ha) I put it on my cheek bones , under my eyes, down the centre of my nose and just above my eyebrows. then using my Real techniques blending brush I blend it all together :) you can buy a set of these brushes here  :)


Eyebrows


So we're getting there !! Next up is the eyebrows! I dread this part every day because I never know how its going to turn out! it can be disastrous at times. But I try to keep it as simple as possible. I always see Fellow bloggers using wax and what not to hold them in place, honestly I just use the Wet N Wild eyebrow kit and that's pretty much it. I just don't really have time messing about with them :P Especially if thy're going to go haywire on me haha ! Before I start applying the product I brush my eyebrows so that they're nice and neat for the brow application,. So using the brow kit and using the brush that comes with it I just take a small bit of product on to my brush, I mix the 2 browns together so it' s not overly dark. Starting just under the brow (closer to the inner eye) I just define my eye brows natural shape and shade in any parts that need to be darkened. I really do try keep it as simple as possible.  To highlight under my brows I use the Catrice Made to stay Highlighter pen, it is only €4.99 and can be purchased in most pharmacies and Penney's nationwide :) 


The Eyes


So for this make up look I used the Catrice Nude Purism eye-shadow palette in Taupe-less. I LOVE this little palette its super cute and so cheap, its limited edition and its only €4.99 so if you can get your hands on it I recommend that you do. :) Again I think some people can over complicate the eyes when really its not that hard. So I normally prime my eyelids using Essence eye lid primer. Using the lightest colour of the palette I use this under my eye brow and over my eye lid, the brush I use is from the Real Techniques starter kit and this can be purchased here. Using the same brush I then use the pink colour and sweep it from the centre of my eyelid out to the outer corner and what's left on the brush I use on the inner side. Using my Crown Brush blending brush I blend it all together. Now using the darker shade (not the darkest) I use my crease brush and starting from the outer corner I brush back and fourth just the the centre of the eye lid and out again, using back and fourth sweeps, then again using the crown brush just blend blend blend!!! now for the outer corner I use the accent brush and using the darkest shade of brown I make a sideways V shape (>) on the outer corner of my eye and just blend it in to  the corner working it outwards too (its times like these I really wish I could do you-tube videos ha ha). I bring the dark colour under my eye too just as far as the centre and then the lightest colour from the inner eye to where the dark ends. And again..... blend!! So thats the shadow done!!


Eye-liner, I am terrible at this still and still trying to find ways that are easy for me to create the perfect winged liner. I am currently using Elf  cream liner in black, can be purchased here. Using my Real techniques silicone liner brush, I put my brush in to the product and wipe off any excess liner. So starting from the centre of my eye lid I draw a line as close to my eye lid as possible, that way I can make it thicker if needs be, I then start to bring it back to my inner eye, this part needs to be thinner but I am still working on that!!! for the winged part, I find the easiest way is to place some tape in a diagonal line just at the outer corner of my eye to end of my eyebrow.that way I can draw the winged liner across the tape and its a perfect line and no mess!!! see pics below :)  I then apply some mascara I am still using my sample Benefit  Roller Lash mascara, I Love this!!! 


Blusher and finishing touches. 

So last but not least I now apply my blusher, I use the pink blusher from the Sleek Face Form palette. I has a lovely pink shimmer to it which is lovely now coming in to the summer months :) so using my angled Pink Avenue brush I apply the blusher to the cheek bones and up to my temple and using my pink avenue blush brush I blend it in. and using my Real Techniques blending brush I just blend it altogether :) Then just using my Essence Cinderella collection highlighter powder I brush some on my cheek bones and down the centre of my nose for a nice finish. 


And that is pretty much how I do my make-up :) Thank you all so much for reading, apologies for it being so long!!! I didn't realise how much actually goes in to it until I have to write it down!! Maybe you-tube might be one on the cards for the future :)  

The finished look!! 


If you want to leave any extra tips down below on the comments or any of my social media  pages, please do as I love hearing and seeing how people do their make up :) 
Thanks again for reading
until next time

x Lots of Love x