

Hello again :D
So I finally got around to doing this blog post, which I know I said I would do ages ago but life got in the way!! But here it is yay!! So this is how I do my make up most days., this kind of make up is for the likes of meeting a friend for a coffee, going shopping, basically I wouldn't look like this just sitting around the house all day :P I don't normally do winged liner on a daily basis as I am still terrible at it but I put it in this post anyway to show you when I do it how I do it :) So hope you all enjoy, and remember this is just a guide as to how I do mine, everyone does their make up differently and that's allowed :) Hope you find some useful tips :)
Wash, cleanse, tone and moisturise
In order to create a nice make up look you need a nice clean blank canvas to work with. So it is very important that you cleanse thoroughly before hand. So what I do is while I'm in the shower I wash my face with a nice face wash at the moment I am using the Aloe face and hand soap as it is an all over body soap too so its very handy. I then use a toner, I'm using No7 soft and soothed gentle toner which is just lovely on the skin and then a good moisturiser. I have very dry skin so I am using /Aloe moisturising lotion at the moment its very soothing to dry patches and hydrates more or less straight away. So that's the basics for step one :)


Prime and Conceal
For a good base for your make up and to make it last all day you need a good primer to suit your skin type. I have used so many over the years and finally found 2 great ones which really wok for me, one is No7 Airbrush away primer and the other is the Smash box photo finish primer. Due to the fact that I have such dry skin I need the primer to be some what hydrating for my skin and I just find these two in particular work for me.
How to apply?
So for the primer I just put a small bit on the back of my hand and using my finger tips I just lightly rub it in to my face. I let it set for about 5 minutes before concealing :) I then use my Boots Botanics All bright radiance balm, I just find this great for giving your skin that glowing look and I also use this when I'm not wearing make up just to give it a nice glow and radiant look :) great little product to have and its only €3.99 from Boots.


Concealer
So I like to conceal my face prior to putting on my make up, again everyone has their own way of doing this I just like to get rid of any blemishes and redness before I put my foundation on. The best one I find is the Wet n Wild cover all concealer. It has the green for redness, pink for dark circles, white for highlight and skin colour for blemishes and the best part is it's only like €4.99. I get redness on my cheeks, my eye lids and sides of my nose and I also use the green to cover any spots which may be red too, the green neutralises the redness and after just using a small bit you can clearly see the redness disappears. So you know all us mammy's dark circles are the story of our lives so this pink part is a life saver!!!! so starting from the inner corner of my eye using my ring finger I bring it down to the tops of my cheekbones and making a triangular shape I bring back up to my temples. and obviously dab in along under the eye. The reason I bring I down so far and across is so when light reflects it doesn't look like I have a blob of pink just under my eye :P Using my Real techniques Stippling brush I blend it all in. See pics below :) You can purchase this stippling brush here.


Foundation
I have so many different foundations at the moment but I have to say the Clarins everlasting foundation is just so nice on my skin, you only need a tiny bit for full coverage and it just stays in place all day. It's a great day and night time make up which is handy:) So I take a small bit on the back of my hand and dip my Beter Foundation brush in to it and using circular motions I blend it all over my face and down to my neck so I avoid any make up lines.


Contour and Highlighing
I think when it comes to contour and highlighting people can tend to over think it and see it as a bigger deal than it is. When you get the hang of it you will be able to do it with your eyes closed :) With this type of day make up I just use powder contour and highlight as I find the cream one to be very night time more dramatic look. So I am currently using and loving my Sleek Face Form palette. It's so easy to use and creates natural contour and highlight too. It's only €12.99 and you can purchase it here :)
To contour, using my real techniques foundation brush (this brush is so slim and perfect for getting a perfect line on the contour of the cheeks) I get a small bit of powder and from my ear to just the corner of my eye or so i just sweep the bronzer along that line just under my cheek bone. The best way to find the hollows of your cheek bones is to make a fish face and roll your makeup brush just under the cheek bone. I then bring it up to my temples and my hair line and just along my jaw bone and down the sides of my nose. using my Real techniques bold metals contour brush (purchase here ) I blend it in with light circurlar motions always going up, the same with then temples and the hairline (forehead). Then along the jaw bone I blend it downwards.


To highlight, Using the highlight powder form the Sleek face form palette, using my Real Techniques contour brush (funny enough ha) I put it on my cheek bones , under my eyes, down the centre of my nose and just above my eyebrows. then using my Real techniques blending brush I blend it all together :) you can buy a set of these brushes here :)


Eyebrows
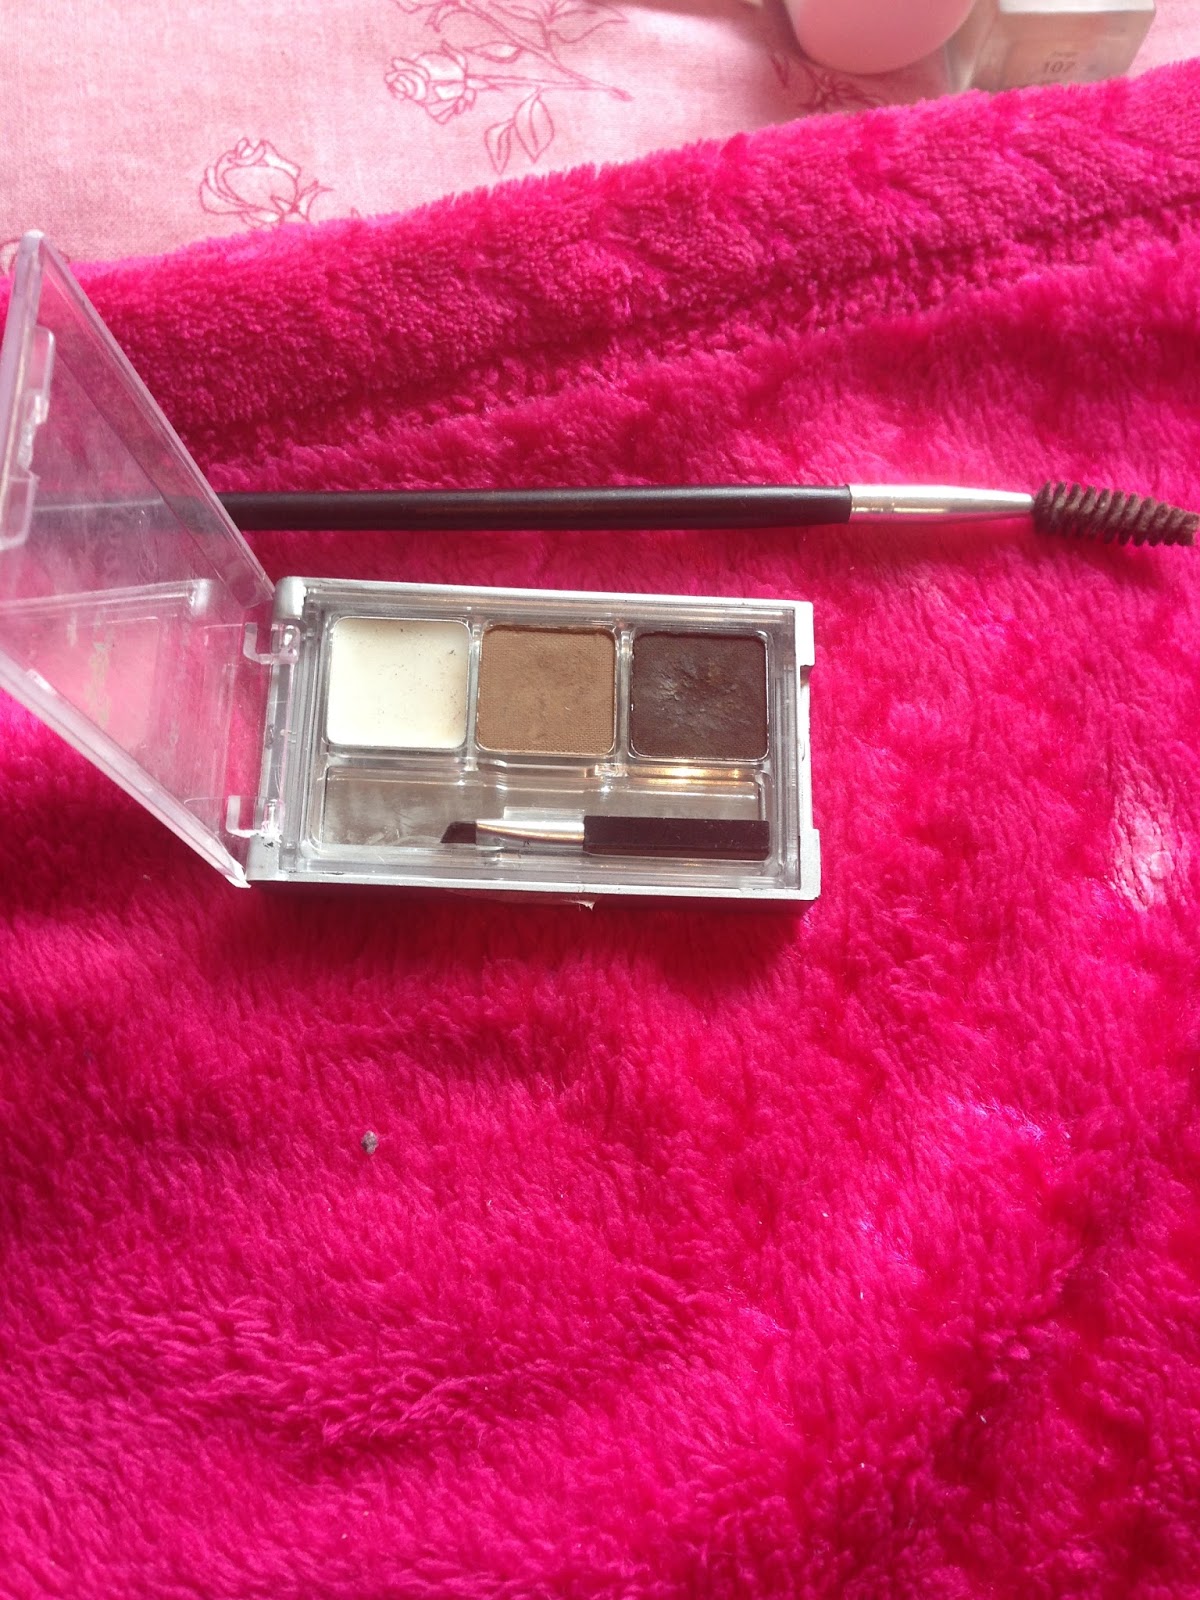
So we're getting there !! Next up is the eyebrows! I dread this part every day because I never know how its going to turn out! it can be disastrous at times. But I try to keep it as simple as possible. I always see Fellow bloggers using wax and what not to hold them in place, honestly I just use the Wet N Wild eyebrow kit and that's pretty much it. I just don't really have time messing about with them :P Especially if thy're going to go haywire on me haha ! Before I start applying the product I brush my eyebrows so that they're nice and neat for the brow application,. So using the brow kit and using the brush that comes with it I just take a small bit of product on to my brush, I mix the 2 browns together so it' s not overly dark. Starting just under the brow (closer to the inner eye) I just define my eye brows natural shape and shade in any parts that need to be darkened. I really do try keep it as simple as possible. To highlight under my brows I use the Catrice Made to stay Highlighter pen, it is only €4.99 and can be purchased in most pharmacies and Penney's nationwide :)


The Eyes
So for this make up look I used the Catrice Nude Purism eye-shadow palette in Taupe-less. I LOVE this little palette its super cute and so cheap, its limited edition and its only €4.99 so if you can get your hands on it I recommend that you do. :) Again I think some people can over complicate the eyes when really its not that hard. So I normally prime my eyelids using Essence eye lid primer. Using the lightest colour of the palette I use this under my eye brow and over my eye lid, the brush I use is from the Real Techniques starter kit and this can be purchased here. Using the same brush I then use the pink colour and sweep it from the centre of my eyelid out to the outer corner and what's left on the brush I use on the inner side. Using my Crown Brush blending brush I blend it all together. Now using the darker shade (not the darkest) I use my crease brush and starting from the outer corner I brush back and fourth just the the centre of the eye lid and out again, using back and fourth sweeps, then again using the crown brush just blend blend blend!!! now for the outer corner I use the accent brush and using the darkest shade of brown I make a sideways V shape (>) on the outer corner of my eye and just blend it in to the corner working it outwards too (its times like these I really wish I could do you-tube videos ha ha). I bring the dark colour under my eye too just as far as the centre and then the lightest colour from the inner eye to where the dark ends. And again..... blend!! So thats the shadow done!!


Eye-liner, I am terrible at this still and still trying to find ways that are easy for me to create the perfect winged liner. I am currently using Elf cream liner in black, can be purchased here. Using my Real techniques silicone liner brush, I put my brush in to the product and wipe off any excess liner. So starting from the centre of my eye lid I draw a line as close to my eye lid as possible, that way I can make it thicker if needs be, I then start to bring it back to my inner eye, this part needs to be thinner but I am still working on that!!! for the winged part, I find the easiest way is to place some tape in a diagonal line just at the outer corner of my eye to end of my eyebrow.that way I can draw the winged liner across the tape and its a perfect line and no mess!!! see pics below :) I then apply some mascara I am still using my sample Benefit Roller Lash mascara, I Love this!!!


Blusher and finishing touches.
So last but not least I now apply my blusher, I use the pink blusher from the Sleek Face Form palette. I has a lovely pink shimmer to it which is lovely now coming in to the summer months :) so using my angled Pink Avenue brush I apply the blusher to the cheek bones and up to my temple and using my pink avenue blush brush I blend it in. and using my Real Techniques blending brush I just blend it altogether :) Then just using my Essence Cinderella collection highlighter powder I brush some on my cheek bones and down the centre of my nose for a nice finish.


And that is pretty much how I do my make-up :) Thank you all so much for reading, apologies for it being so long!!! I didn't realise how much actually goes in to it until I have to write it down!! Maybe you-tube might be one on the cards for the future :)
 |
| The finished look!! |

If you want to leave any extra tips down below on the comments or any of my social media pages, please do as I love hearing and seeing how people do their make up :)
Thanks again for reading
until next time
x Lots of Love x

No comments:
Post a Comment